This is a guide to help you set up a Raspberry Pi board. You will be able to make it accessible through your wifi network without connecting it to an external device like a keyboard or display.
Quick overview
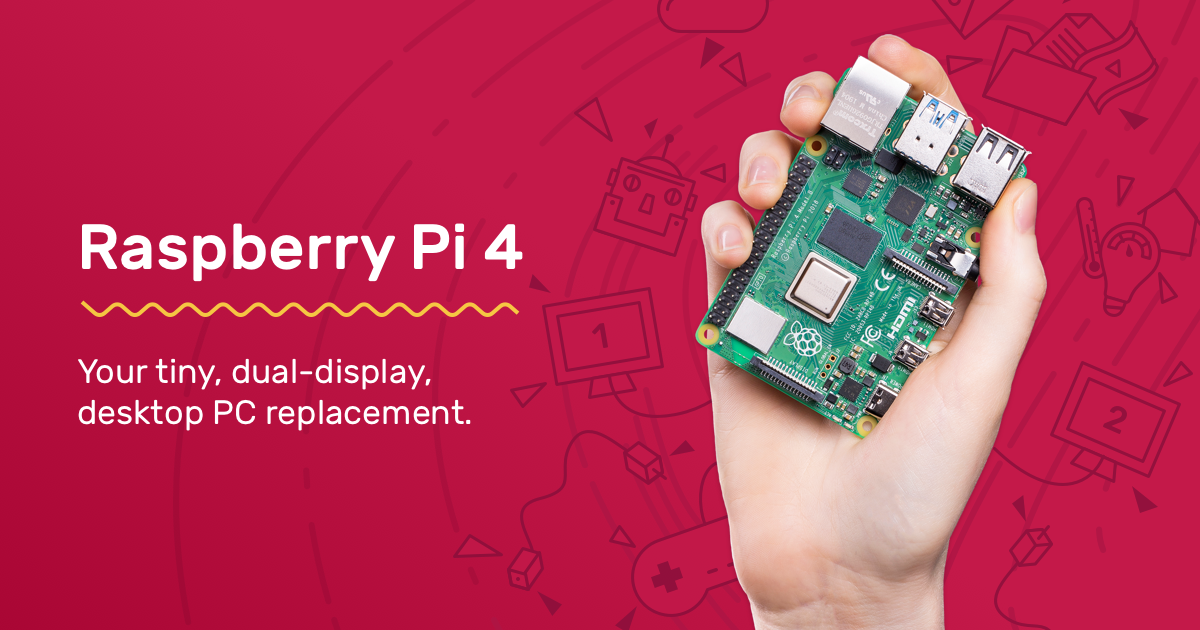
Raspberry Pi is a full-fledged PC, yet its price makes it one of the best choices for building your own testing lab. It’s perfect for letting your imagination and creativity run wild, from small computer science projects to electronics to building your own private cloud.
Here are the main steps we will follow:
- Get a Raspberry Pi and a SD card
- Install Raspbian on the SD card
- Configure the Raspbian installation
- Power up the Raspberry Pi board
- Connect to it and enjoy
All actions are performed from your macOS laptop, and there is not a single technical action that needs to be performed on the Raspberry Pi. This is quite convenient, because you don’t need to connect it to an external keyboard or display: as soon as your Raspberry Pi is connected to a power supply, it is fully functional.
So, let’s proceed!
Step by step installation
1. Get a Raspberry Pi and a SD card
That should be the step that takes longer if you don’t already have one! Otherwise, it’s pretty straightforward as you only need to get your hands on:
- A Raspberry Pi version 3 or 4, as both have a wifi chip built in (no external wifi dongle required)
- A SD card with at least 4 GB capacity
If you plan to use a macOS laptop built after 2016, you should also get a SD card adapter. It’s pretty easy to find one while shopping at your favourite local or online store, so I’ll leave that up to you! Hopefully Apple will bring back a SD card slot in the next generation of Macbooks, but until then we’ll have to go with an adapter.
2. Install Raspbian on the SD card
We need an image of Raspbian OS, customised for your Raspberri Pi. I recommend downloading the light image, as you don’t need much else unless you plan to connect your board to an external display.
- Just click here to get it
- Unzip the downloaded file. You can do this by double clicking on the downloaded file in Finder. You should then get a file with the extension
.img: this is the OS image we are looking for and will use in the next steps. - Download Etcher and install it: this is a software that will help us put the OS into the SD card.
- Open Etcher:
- Select the
.imgfile you extracted earlier - Select your SD card as the target
- Flash it
- Select the
This process may take a few minutes, please be patient!
3. Configure the Raspbian installation
While the SD card is still connected to your macOS computer, we’ll configure Raspbian to perform additional steps on first boot. Access the SD card from the Finder and perform the following steps in the root directory:
-
Enable SSH server: pretty simple, just create an empty file named
ssh -
Configure the wifi connection:
- Create a file named
wpa_supplicant.conf. Its contents should be:
ctrl_interface=DIR=/var/run/wpa_supplicant GROUP=netdev update_config=1 country=FR network={ ssid="[Name of your wireless LAN]" psk="[Password for your wireless LAN]" }- Replace
[Name of your wireless LAN]with your own wifi network SSID (it’s name, basically) - Replace
[Password for your wireless LAN]with your wifi password
- Create a file named
-
Save everything, and umount the SD card to make sure all changes are synced.
… And your done!
4. Power up the Raspberry Pi board
- Take the SD card out of your macOS laptop
- Put it on your Raspberry Pi board
- Connect the Raspberry Pi to a power supply
- Wait some time (~2 to 3 minutes) for it to boot
5. Connect to it and enjoy
Now comes the tricky part: you need to find out which IP is assigned to your Raspberry Pi.
You can usually find this out through the administration interface of your local router.
Another option is to use nmap, a port scanning utility for network.
The whole procedure can be found in the Raspberry Pi documentation, but here is a summary.
-
Install
nmapwith brew.brew install nmap -
To scan your network with
nmap, you need to know the subnet you are connected to.- First find the IP address of the computer you are using: on macOS, go to
System Preferences>Networkand select your active network connection to view the IP address. - Using your IP address, determine your subnet address: this is usually done by replacing the last number with
0/24(e.g. if your IP address is 192.168.0.5, your subnet address should look like 192.168.0.0/24).
- First find the IP address of the computer you are using: on macOS, go to
-
Scan your own network to find connected devices. To do this, use
nmapwith the subnet address:# Replace the subnet address with what you found above > nmap -sn 192.168.0.0/24 Starting Nmap 7.91 ( https://nmap.org ) at 2021-06-29 17:24 CEST Nmap scan report for 192.168.0.2 Host is up (1.0s latency). Nmap scan report for 192.168.0.11 Host is up (0.33s latency). Nmap scan report for 192.168.0.18 Host is up (0.0050s latency). Nmap done: 256 IP addresses (3 hosts up) scanned in 129.10 seconds -
The IP address of your Raspberry Pi should be listed in the output of the command. Now all you have to do is to log in to it via SSH. If there are multiple IP addresses, just try them all:
    # default password is: raspberry
    ssh pi@[ip-address-of-raspberry-pi]
Once you are logged in, it’s a win! You can now start any project with your Raspberry Pi as the central tool for testing and developing things.
Have fun!
Troubleshooting
- Make sure your Raspberry Pi is configured to connect to the same wifi network as your macOS laptop
- If your Raspberry Pi does not appear on your network, check if your wifi name and / or password are incorrect (step 3.)